Prospero Build Diary - Part Four
So, new problem.
The space the globe is going to occupy is currently the location of the case's power and reset switches. Now, this was originally something I had a plan for - the globe itself was going to be the power switch. It would be mounted atop a switch and spring-loaded, so that you could simply push in on the globe and the computer would come to life.
Unfortunately, my globe is just slightly too large. So there isn't enough space inside the case to allow the globe to move - plus the plate would grind against the threads of the bolts holding it in resulting in undesired noise and friction. Ungainly and unfeasable - so I needed a new idea.
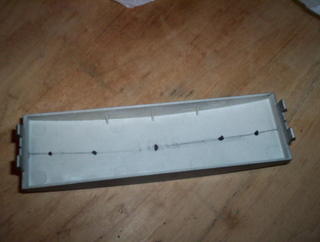
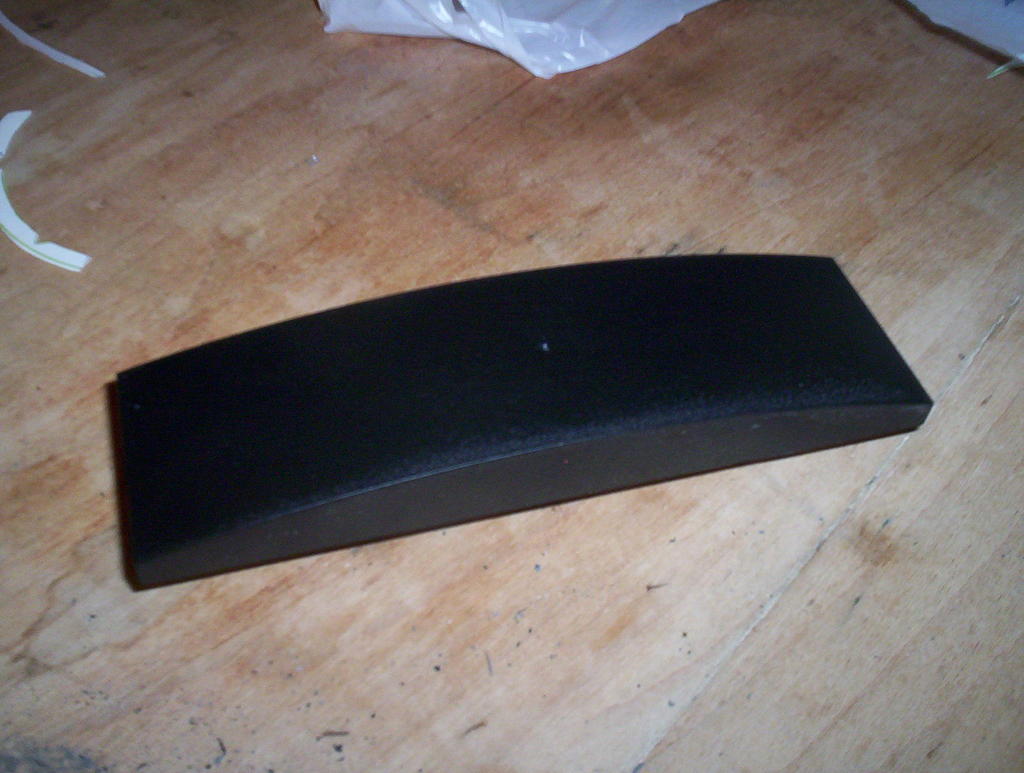
Earlier today, at work, I had it. One of my case's drive panels will gain a new life as a switch panel. But regular case switches simply won't do - far too techy-looking for Prospero. Instead, red metal knobs will protrude and be fiddled with to start the magic. (And, yes, the more magic.) Here's the panel with the new paint job from yesterday:

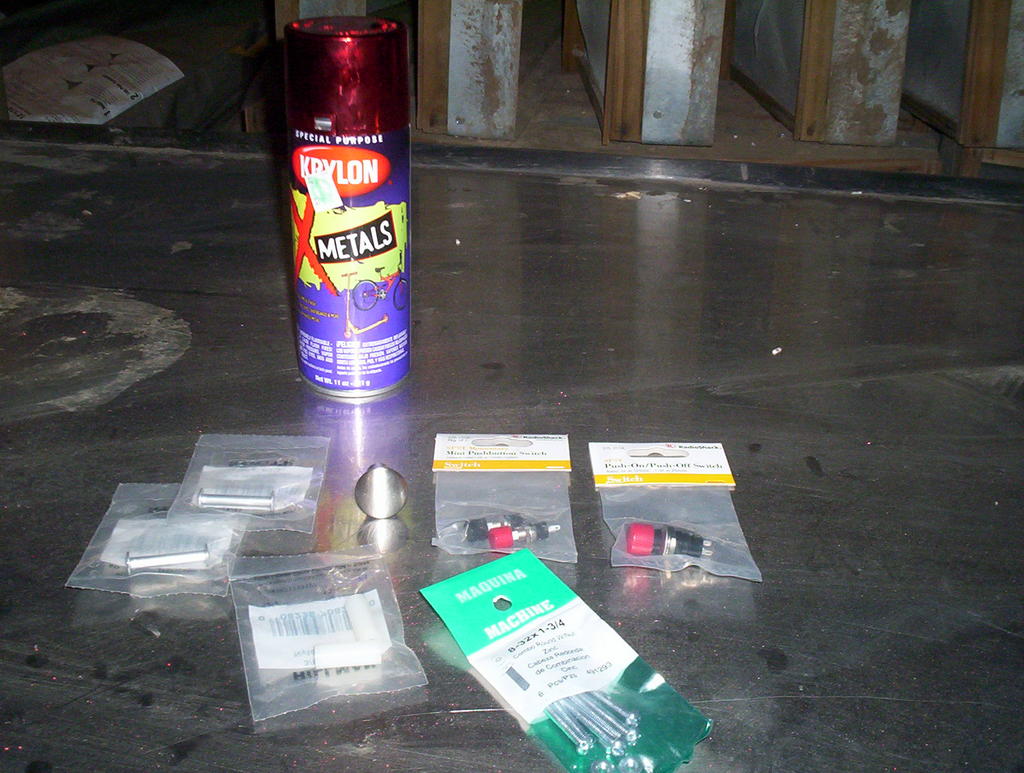
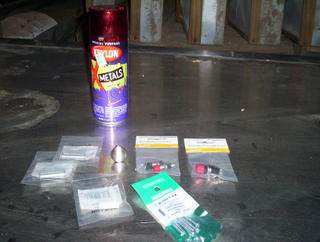 Quick trips to Lowe's and Radio Shack for the parts. I picked up two momentary pushbutton switches for power and reset. Also, I was thinking about how I tend to leave my computer on for weeks at a time, and how I don't think I want the globe or other lighting effects running all the damn time. The little transformer in the globe is actually a little hummy.
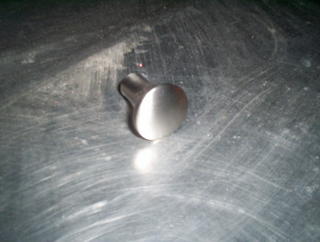
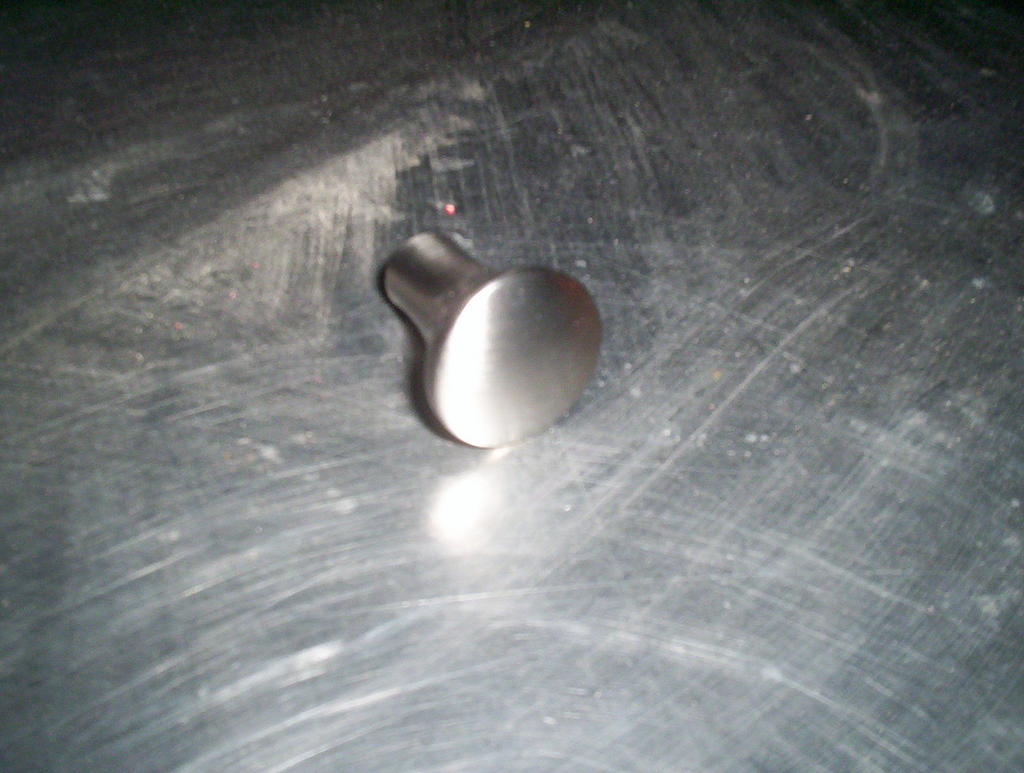
So, I got a pushbutton toggle switch to turn those effects on and off. All that stuff will be hidden behind the case panel, however - the only protrusion will be three metal cabinet pulls, sticking out like the stops on an organ. Here's a close-up of the cabinet pull I got. I'll apply a Krylon paint (above) that looks like anodized dye to make it match the color scheme of the case. Mostly.
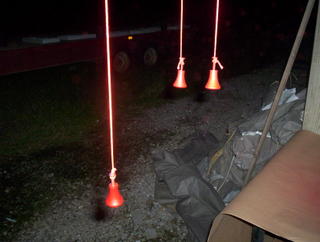
 In order to get a good, even coat on an item that is very small and heavy in the wrong direction, I decided to suspend them from bolts and strings. This had the advantage of me not having to mask out the work area to keep from getting paint everywhere. Here they are, hanging from kite string and ready to paint:
 And here they are with a good coat of neat-looking paint. They should look pretty good sticking out of the front of my computer.
 Here's five holes laid out in the case panel - three for the knobs and two, one on each end, for the aluminum (also painted) standoffs that will hold a panel for the switches to mount to.
Here's the front panel with the plexiglass switch panel attached, with corresponding holes marked out and ready to be drilled. Plexiglass switch panel with holes drilled and switches test-fitted.
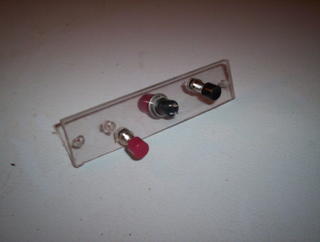 Now, if you're looking closely here, you may be noticing that one switch faces frontwards (this is actually a picture of the back of the panel) while two face backwards. The reason for this is asthetic. The center knob will push in to toggle case effects, but the two on either end - power and reset - will be actuated with a pulling motion, to really get that "organ stop" feel.
Well, that's all I was able to do tonight. There's some kind of major issue with our shower drain - there's been a foot of dirty soapwater in it all day. It's really pretty gross, and so far the clog resists even the most potent formulas of Liquid Plumbr. I guess I'm gonna have to call in the Physical Services people tomorrow to have it looked at; meanwhile no showers at the chez Lindroth-Payne. Ew.
The space the globe is going to occupy is currently the location of the case's power and reset switches. Now, this was originally something I had a plan for - the globe itself was going to be the power switch. It would be mounted atop a switch and spring-loaded, so that you could simply push in on the globe and the computer would come to life.
Unfortunately, my globe is just slightly too large. So there isn't enough space inside the case to allow the globe to move - plus the plate would grind against the threads of the bolts holding it in resulting in undesired noise and friction. Ungainly and unfeasable - so I needed a new idea.
Earlier today, at work, I had it. One of my case's drive panels will gain a new life as a switch panel. But regular case switches simply won't do - far too techy-looking for Prospero. Instead, red metal knobs will protrude and be fiddled with to start the magic. (And, yes, the more magic.) Here's the panel with the new paint job from yesterday:
 Quick trips to Lowe's and Radio Shack for the parts. I picked up two momentary pushbutton switches for power and reset. Also, I was thinking about how I tend to leave my computer on for weeks at a time, and how I don't think I want the globe or other lighting effects running all the damn time. The little transformer in the globe is actually a little hummy.
So, I got a pushbutton toggle switch to turn those effects on and off. All that stuff will be hidden behind the case panel, however - the only protrusion will be three metal cabinet pulls, sticking out like the stops on an organ. Here's a close-up of the cabinet pull I got. I'll apply a Krylon paint (above) that looks like anodized dye to make it match the color scheme of the case. Mostly.
 In order to get a good, even coat on an item that is very small and heavy in the wrong direction, I decided to suspend them from bolts and strings. This had the advantage of me not having to mask out the work area to keep from getting paint everywhere. Here they are, hanging from kite string and ready to paint:
 And here they are with a good coat of neat-looking paint. They should look pretty good sticking out of the front of my computer.
 Here's five holes laid out in the case panel - three for the knobs and two, one on each end, for the aluminum (also painted) standoffs that will hold a panel for the switches to mount to.
Here's the front panel with the plexiglass switch panel attached, with corresponding holes marked out and ready to be drilled.
 Plexiglass switch panel with holes drilled and switches test-fitted.
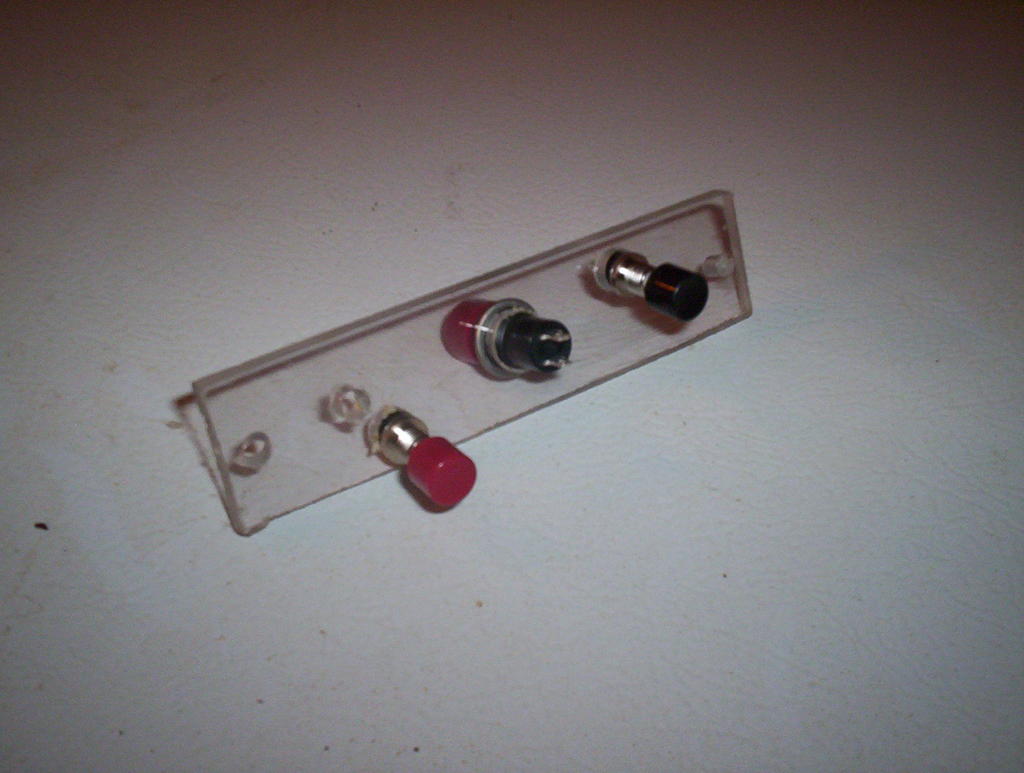 Now, if you're looking closely here, you may be noticing that one switch faces frontwards (this is actually a picture of the back of the panel) while two face backwards. The reason for this is asthetic. The center knob will push in to toggle case effects, but the two on either end - power and reset - will be actuated with a pulling motion, to really get that "organ stop" feel.
Well, that's all I was able to do tonight. There's some kind of major issue with our shower drain - there's been a foot of dirty soapwater in it all day. It's really pretty gross, and so far the clog resists even the most potent formulas of Liquid Plumbr. I guess I'm gonna have to call in the Physical Services people tomorrow to have it looked at; meanwhile no showers at the chez Lindroth-Payne. Ew.
posted by Chet @ 6:51 PM
![]()

0 Comments:
Post a Comment
<< Home