Prospero Build Diary - Part Two
More about the side panel.
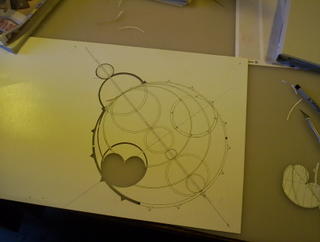 Above we see the diagram laid out on posterboard, and I'm beginning to trim it out as a stencil using an x-acto knife.
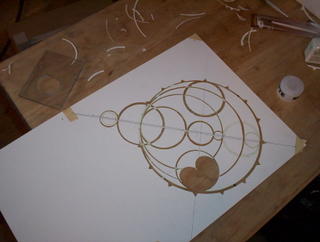
Finally done. Took about two hours of laborious cutting, but the result is pretty sweet.
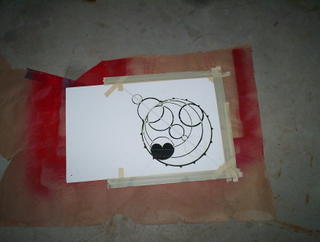 Ready to paint. I've taped the stencil on, masked out the edges, and we're ready to go. Since the bezel is ready to be painted too, lets go ahead and do that too.
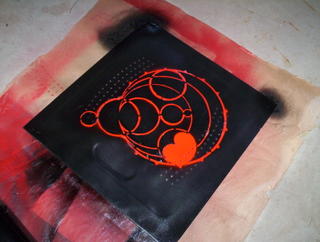
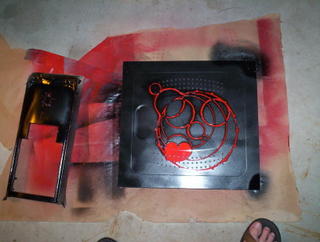 The finished panel. Looks pretty good to me. Had a little paint peel at the corners, so I went ahead and touched those up, too. It doesn't look too bad in this picture but it's not exactly pro-level work. Not bad for a rattlecan, though.
Here's a closer look at the panel with a little less shine. A topcoat of clear, matte acrylic gives a nice, flat black. This thing will eat light in a dark room.
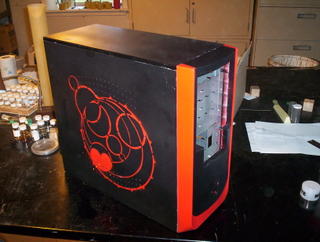
 And a brief mockup with all the painted parts. The color is a little off in the picture; it's really fire-engine red, not day-glo orange. Poor lighting in the shop. Still, looking pretty good.
 Above we see the diagram laid out on posterboard, and I'm beginning to trim it out as a stencil using an x-acto knife.
Finally done. Took about two hours of laborious cutting, but the result is pretty sweet.
 Ready to paint. I've taped the stencil on, masked out the edges, and we're ready to go. Since the bezel is ready to be painted too, lets go ahead and do that too.
 The finished panel. Looks pretty good to me. Had a little paint peel at the corners, so I went ahead and touched those up, too. It doesn't look too bad in this picture but it's not exactly pro-level work. Not bad for a rattlecan, though.
Here's a closer look at the panel with a little less shine. A topcoat of clear, matte acrylic gives a nice, flat black. This thing will eat light in a dark room.
 And a brief mockup with all the painted parts. The color is a little off in the picture; it's really fire-engine red, not day-glo orange. Poor lighting in the shop. Still, looking pretty good.

0 Comments:
Post a Comment
<< Home